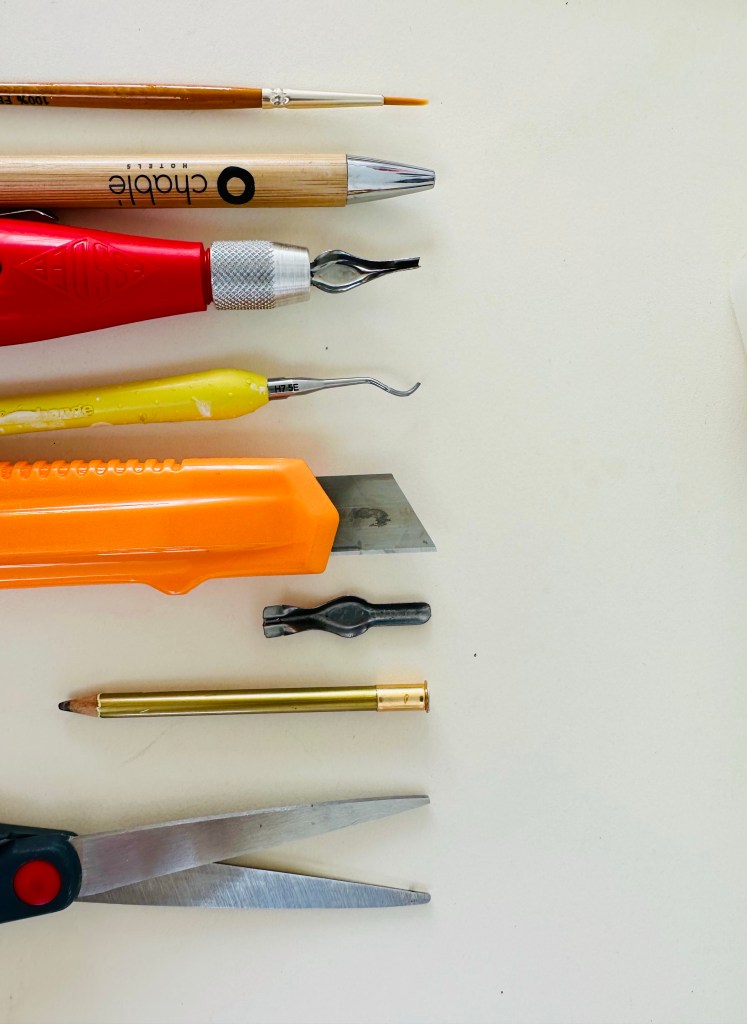
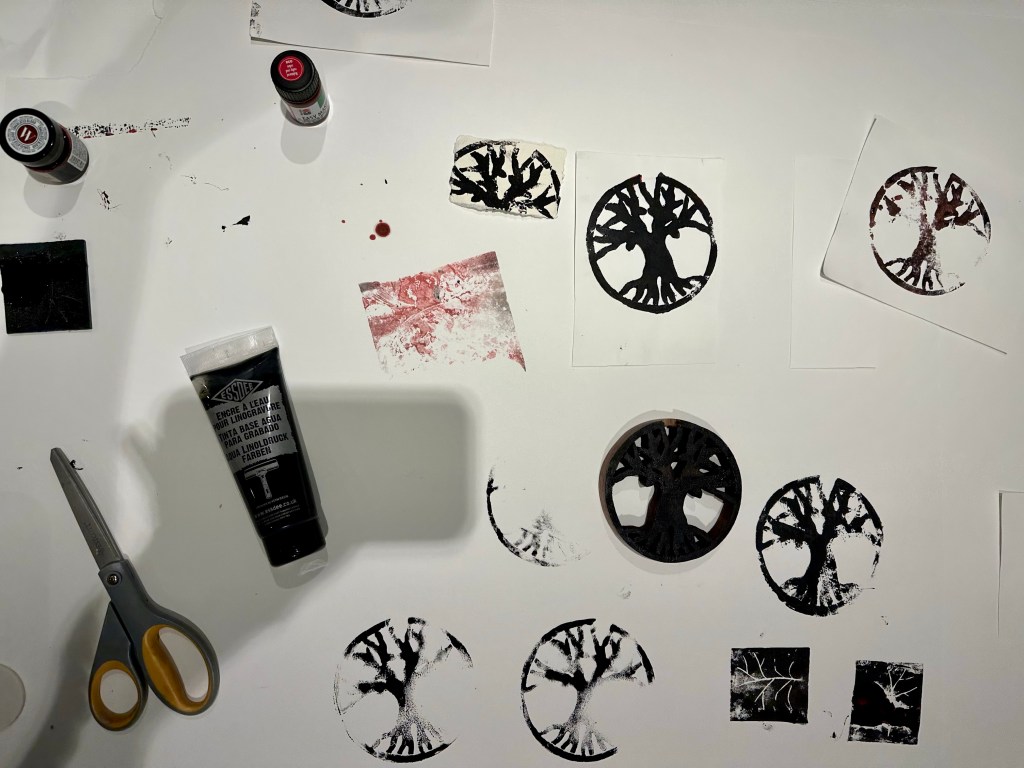
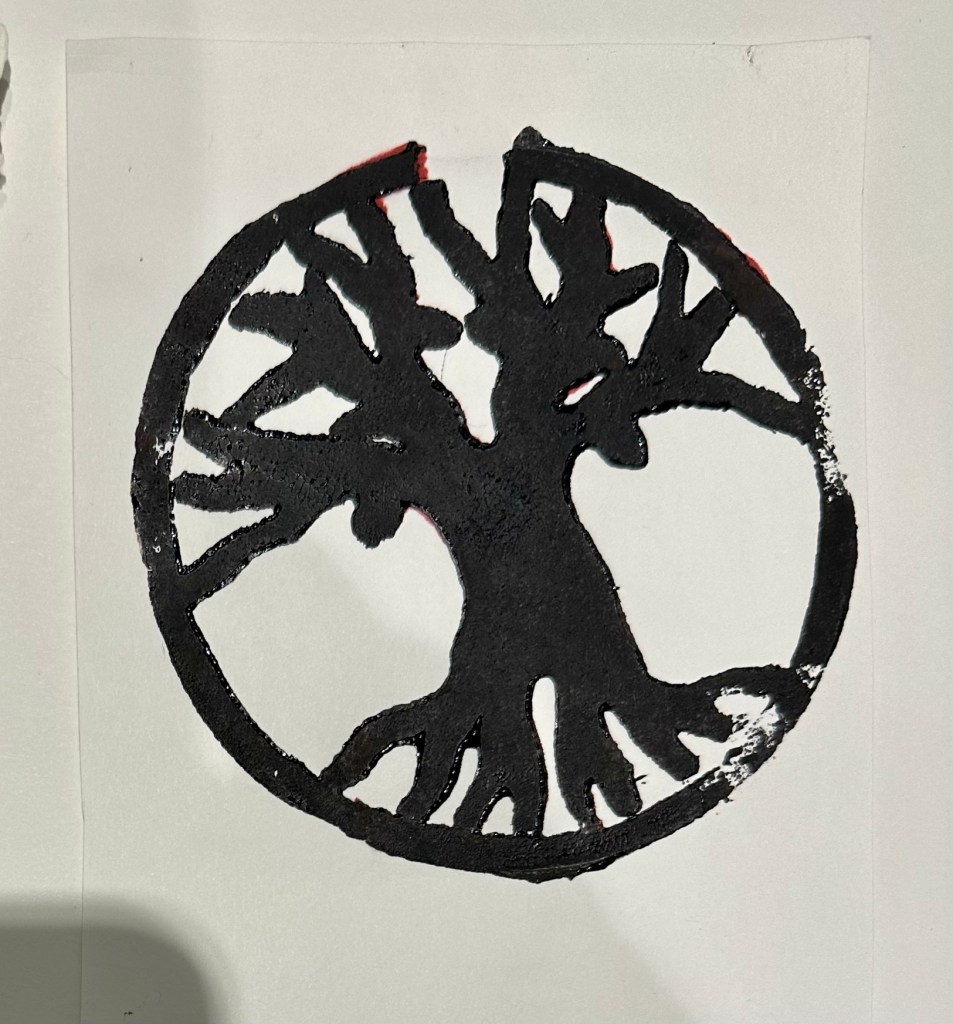
STRENGTH/WEAKNESS ANALYSIS OF TOOLS
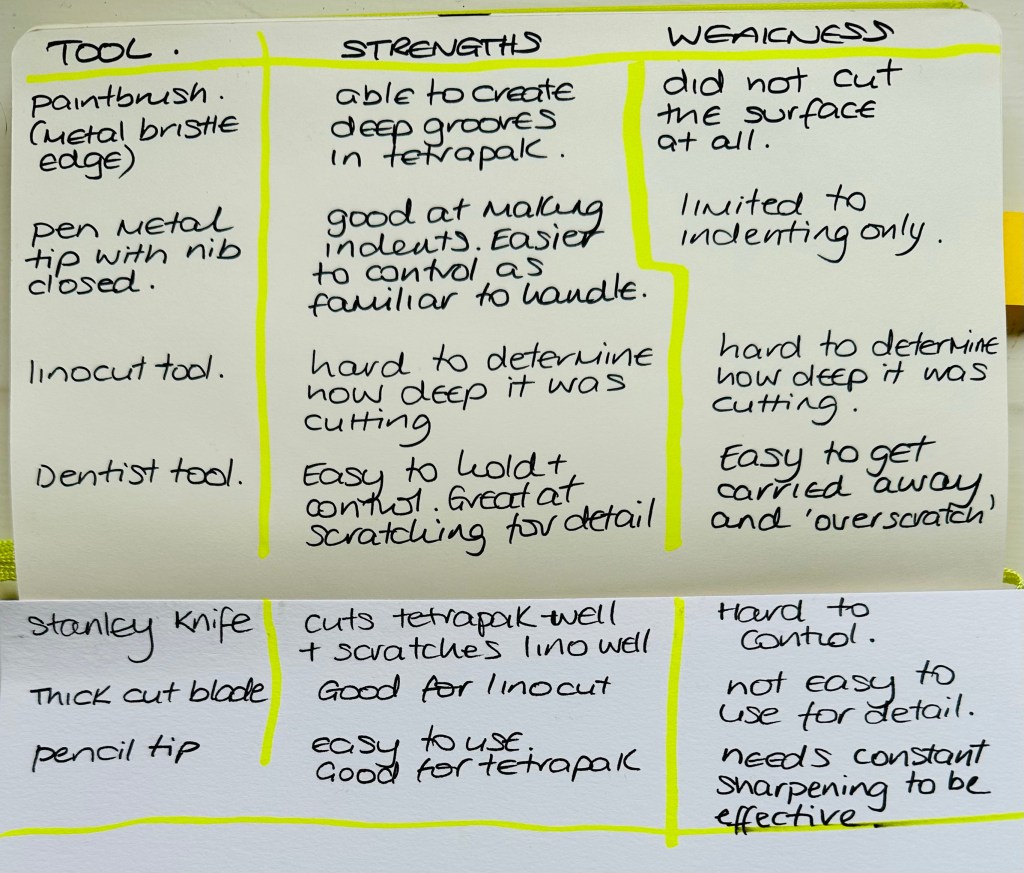
I tried a variety of tools to create linocuts and the collograph. I found it harder than I expected to control the tools and to scratch out fine details.
Collographs
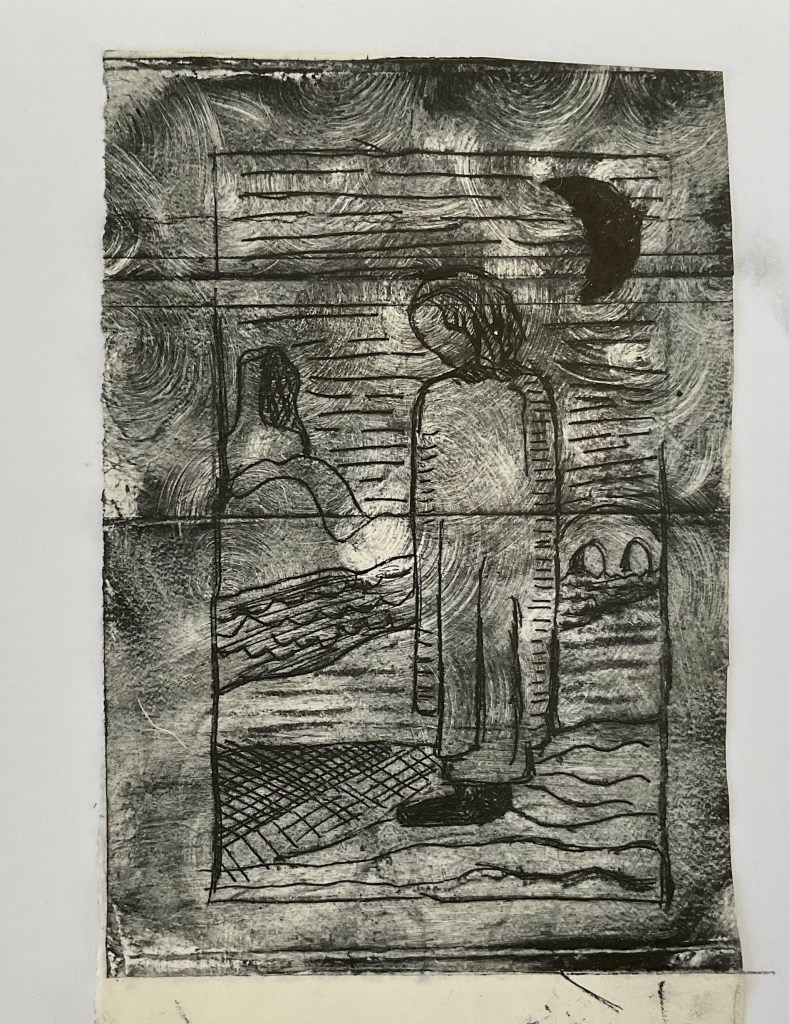
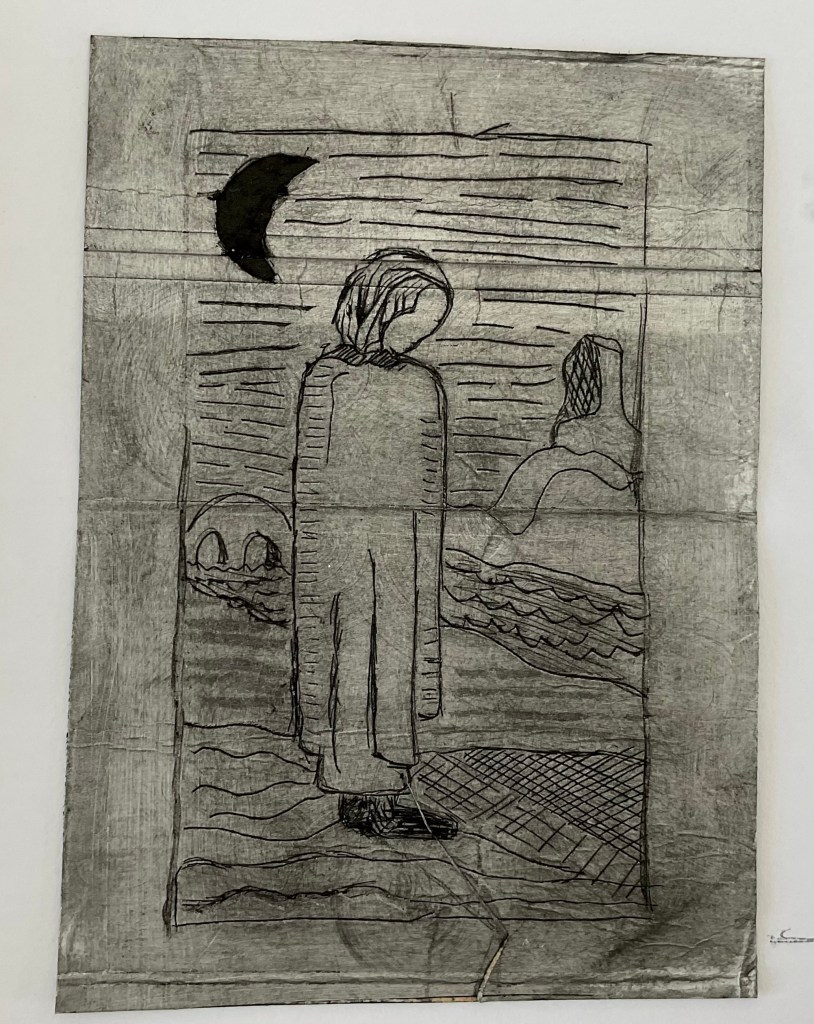
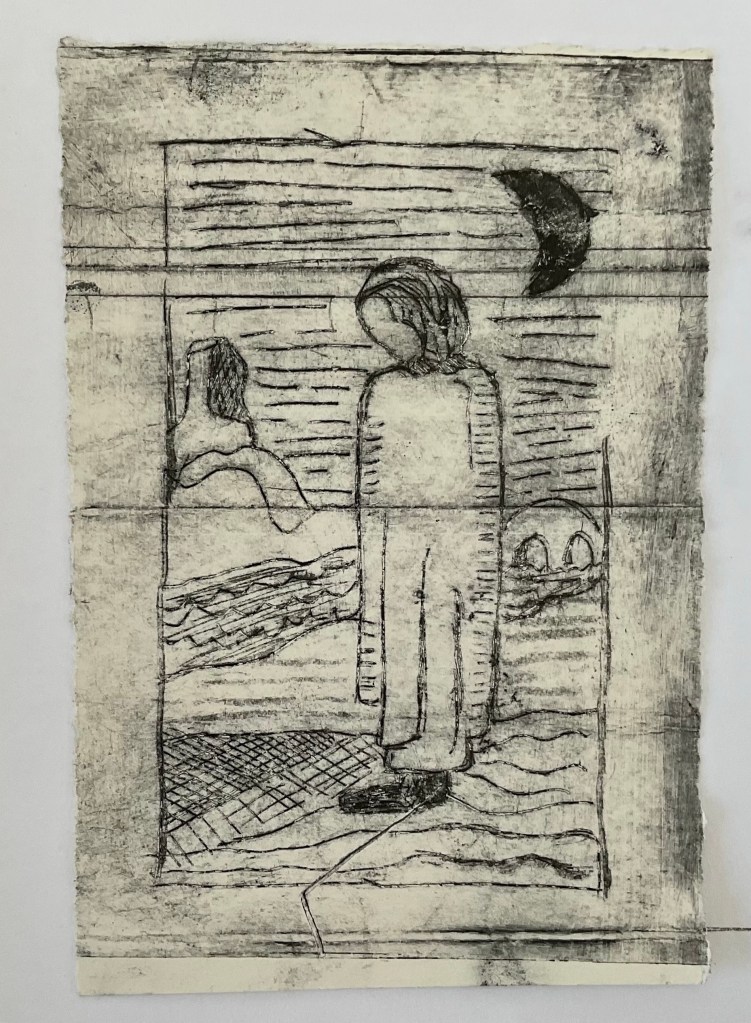
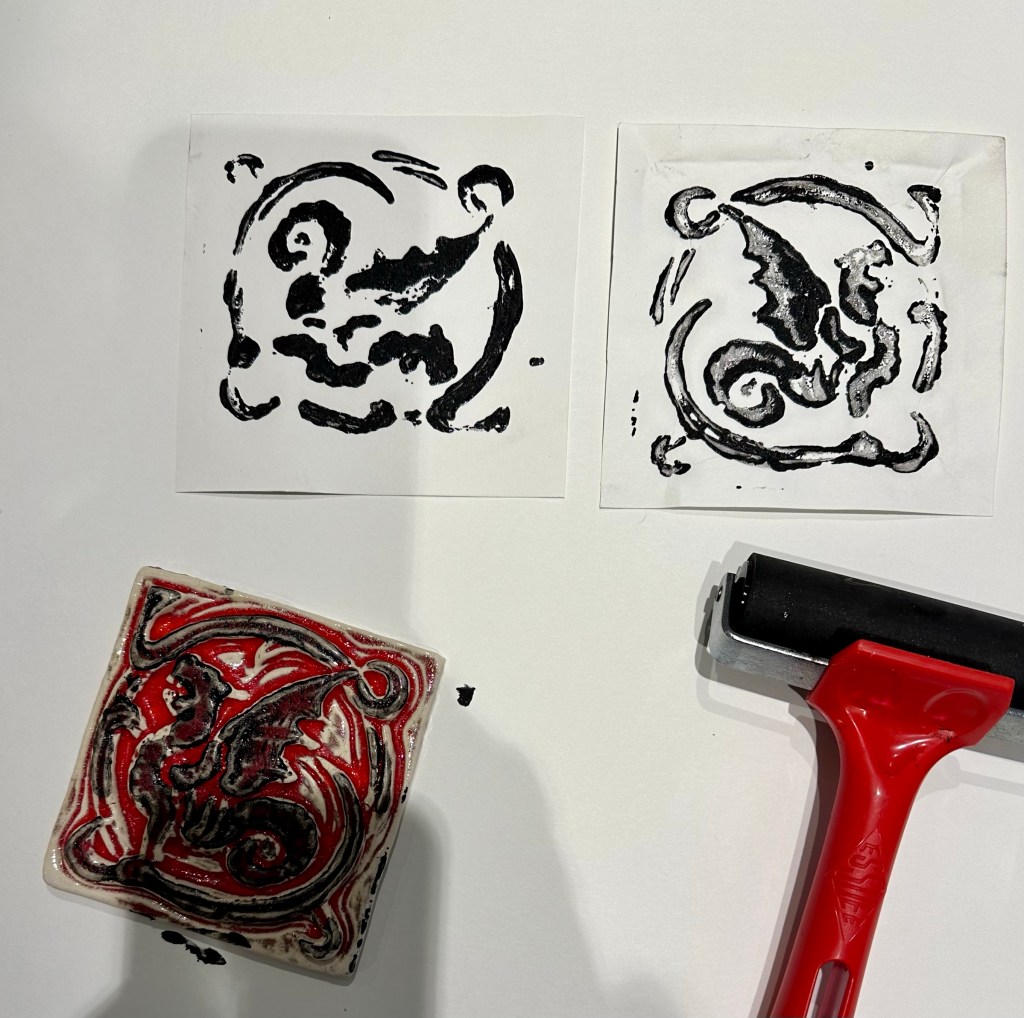
First I drew what I intended to cut into the Tetrapak. I chose a simple image from a Tarot card. I then tried printing leaving some intentional swirls of ink on plate. It didn’t look as good as I hoped. I continued to experiment with wiping away ink in different areas. I can see how there are so many possibilities of entirely different outcomes just but adjusting the inking process.


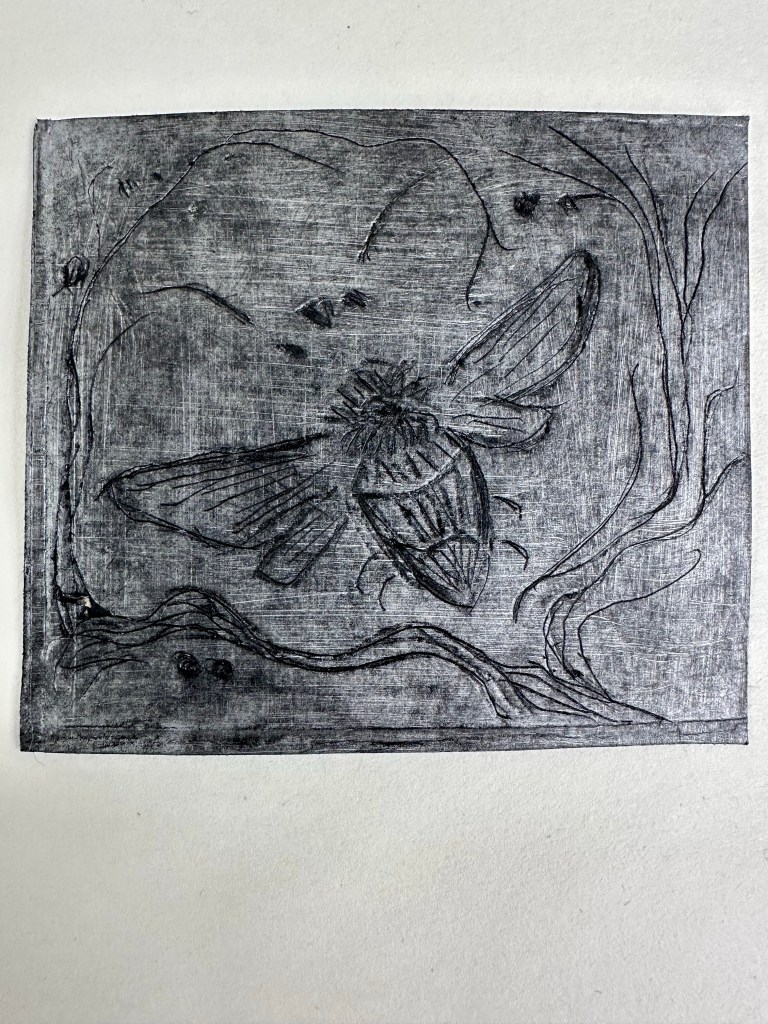
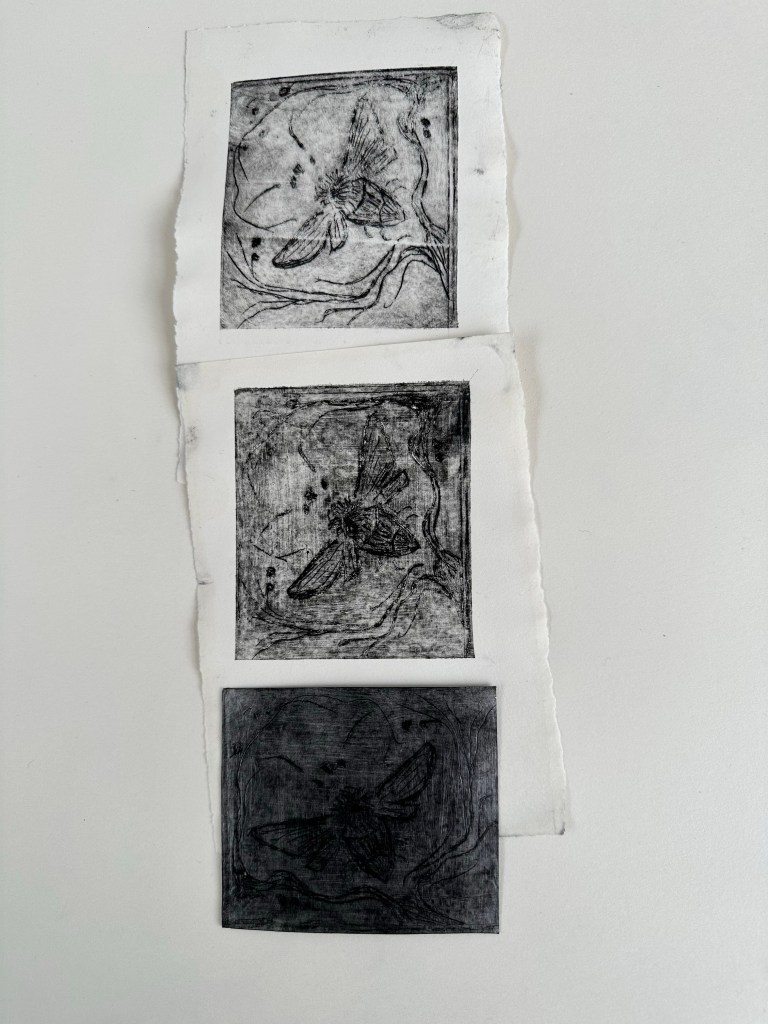
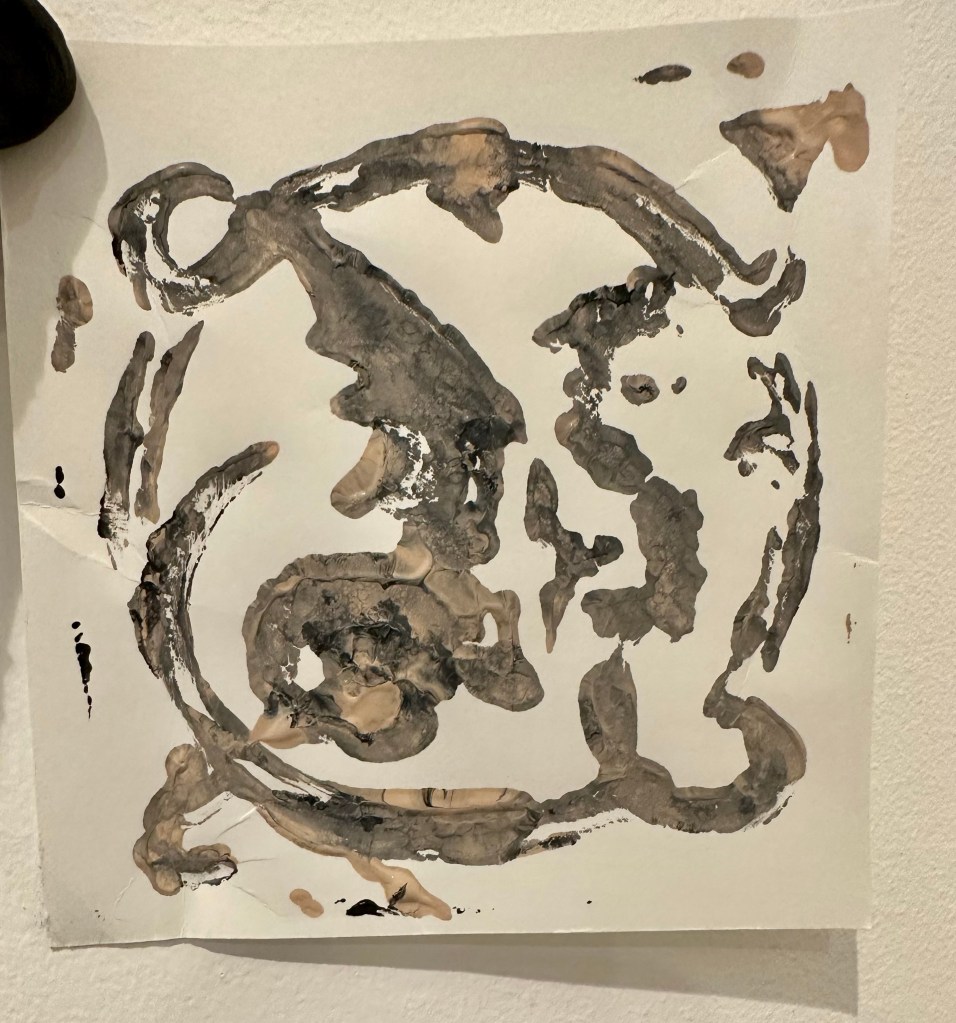
I tried a second collograph and could see that already I found the etching process easier than my first attempt as I was a little more familiar with the process. I sketched/etched a bee and used the dentist tool to do this. I was pleased with the result and I tried a couple of different ways to apply the ink. I also experimented with different ‘dampnesses’ of paper. I would like to make time to experiment more with Intaglio printing using different surfaces like copper zinc etc to etch a design.


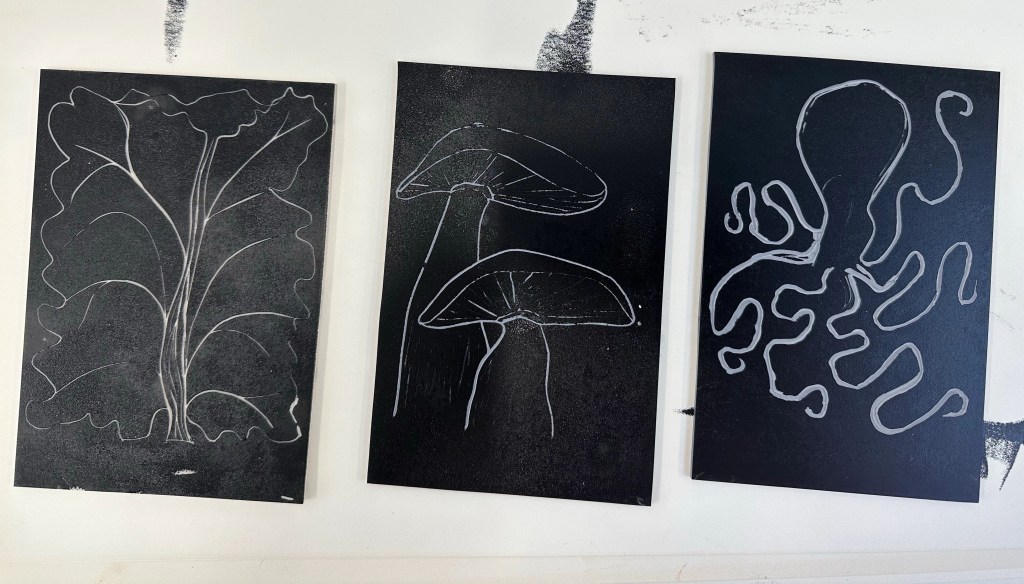
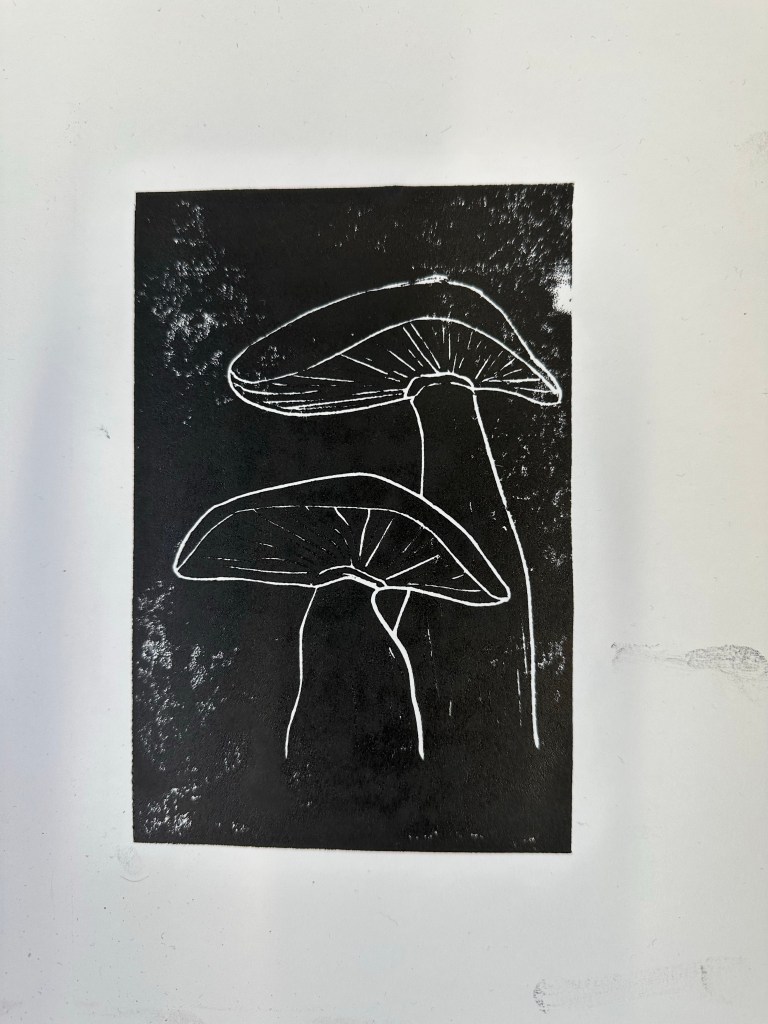
Linocuts
I found cutting into the Lino harder than I thought. It was difficult for me to control the tools and although I tried an array of tools I couldn’t really control the depth of the cut. I had to keep the linocuts very simple and was disappointed with my outcomes. I also noticed that the different densities of Lino made a

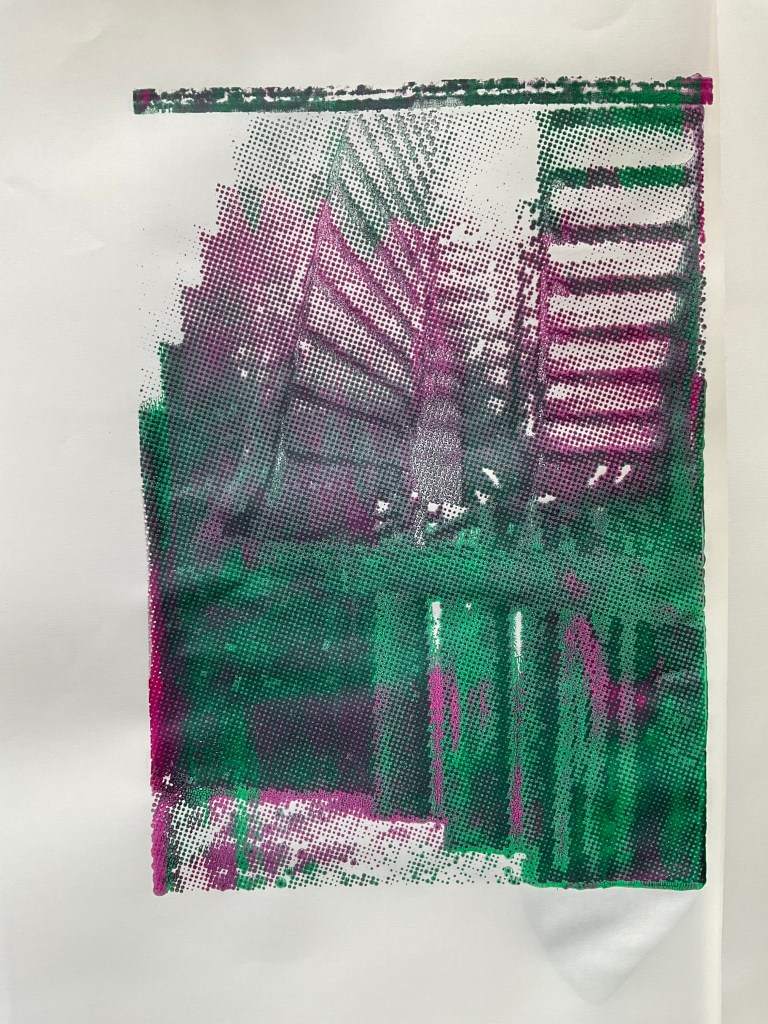
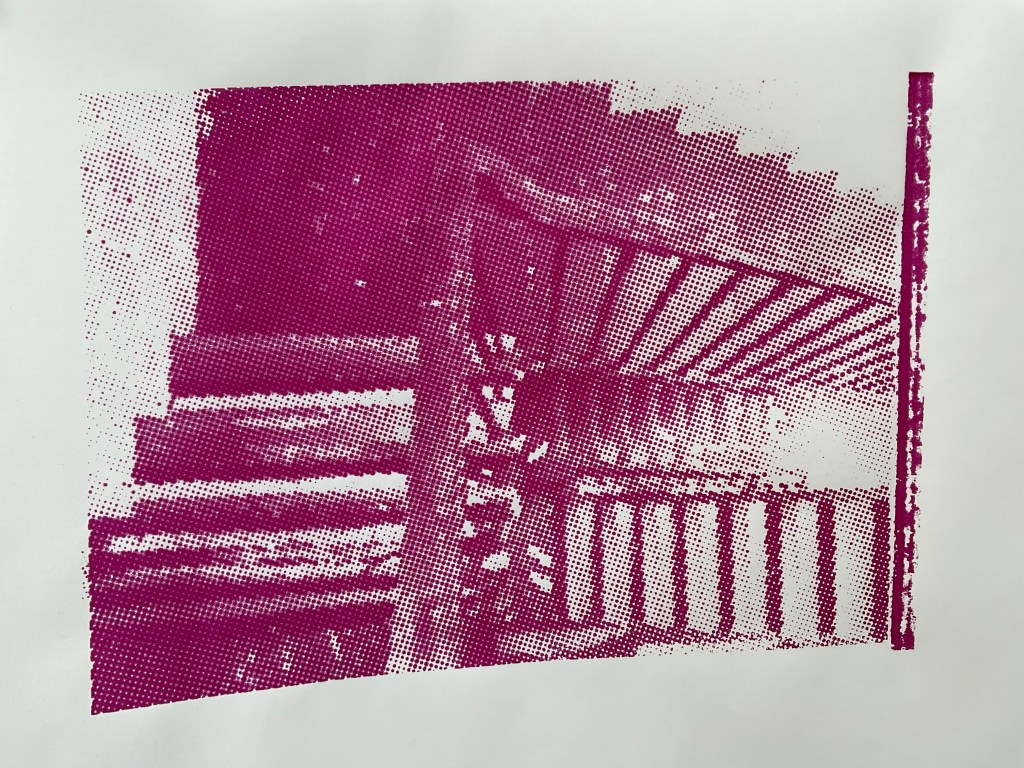
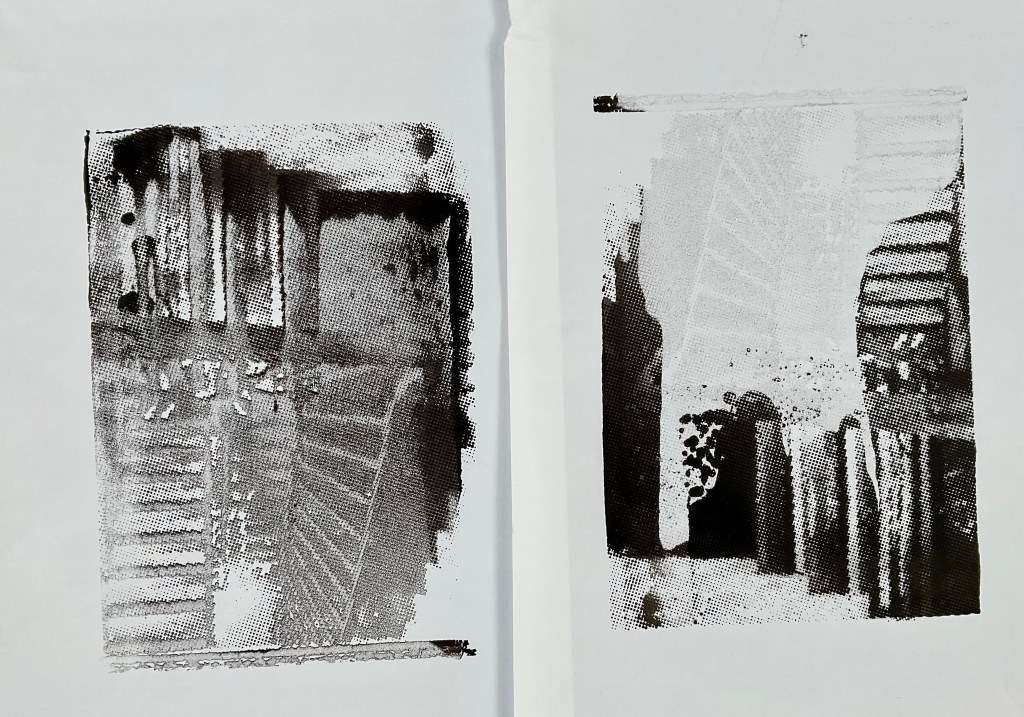
Screen printing
My classmate and I teamed up in our initial lesson. I found it hard to remember all the processes on my own so it was great to work with Lawrence. We experimented with differnt colours of ink on the same ‘pull through’ and we also printed on to a plain pull through background which was really successful I believe.


Experimenting at home.
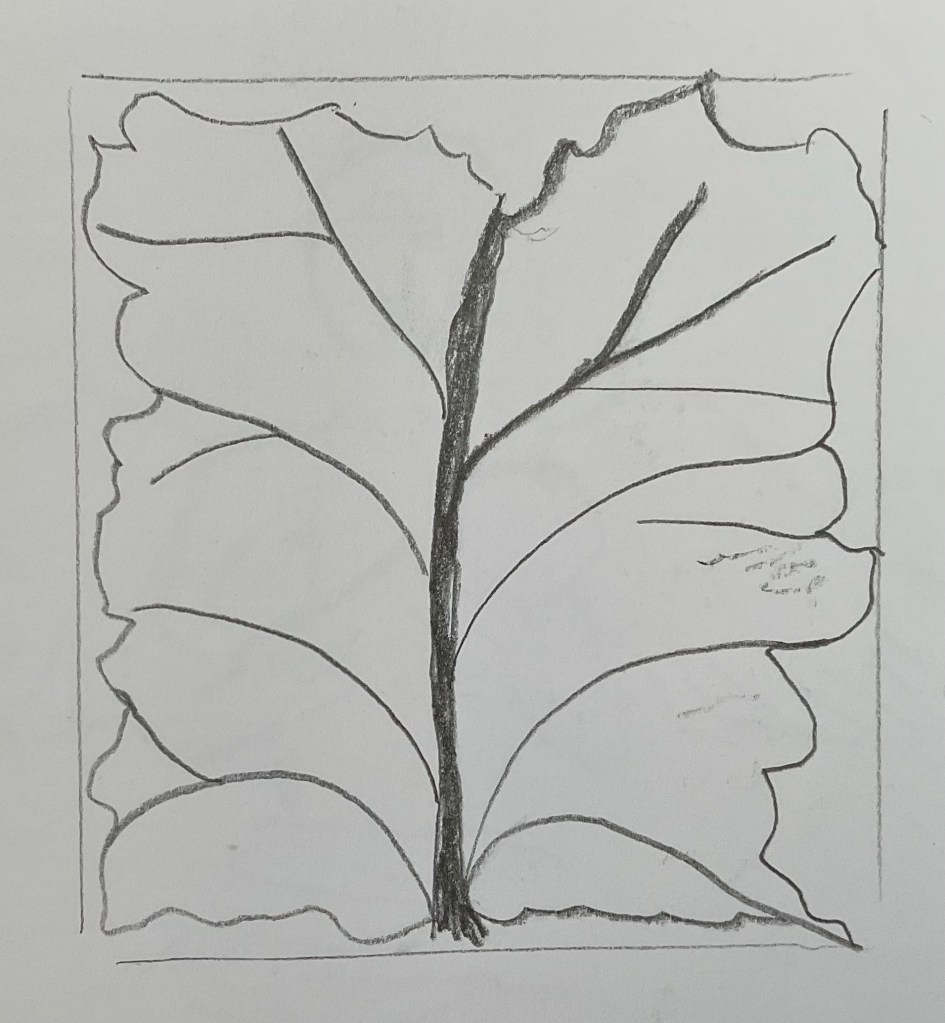
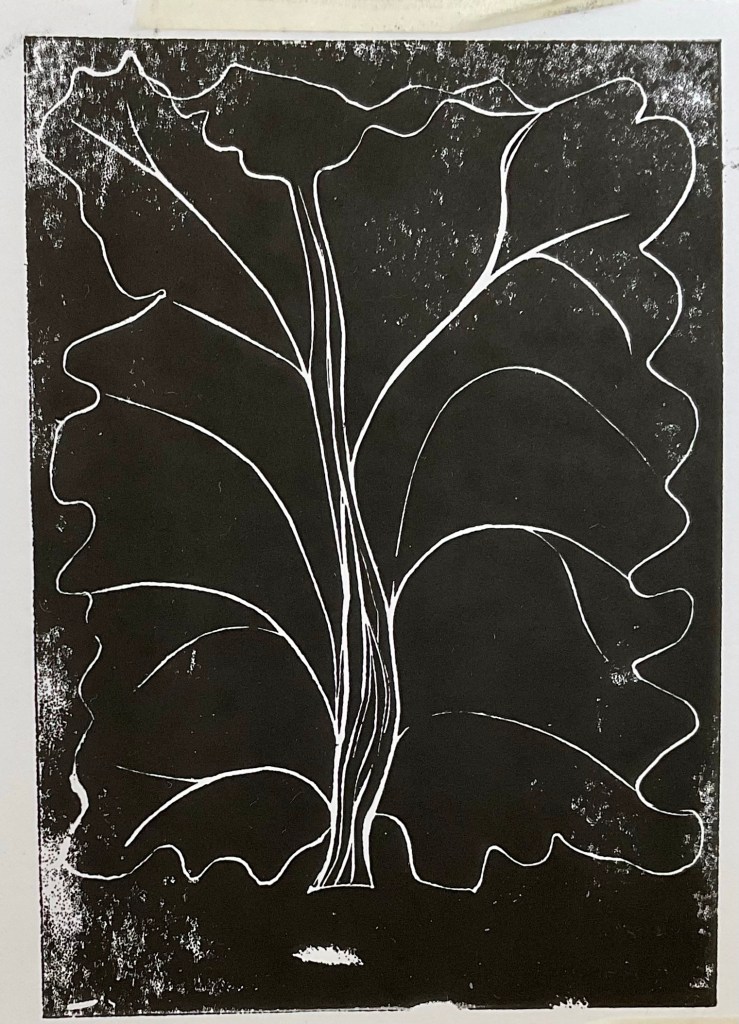
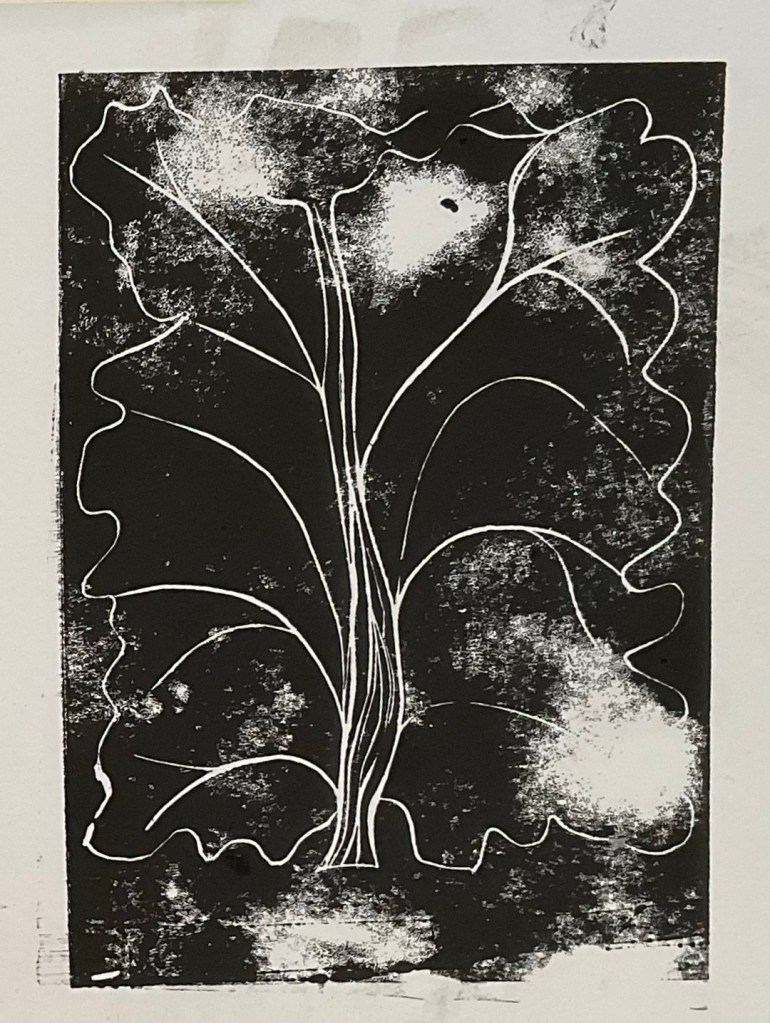
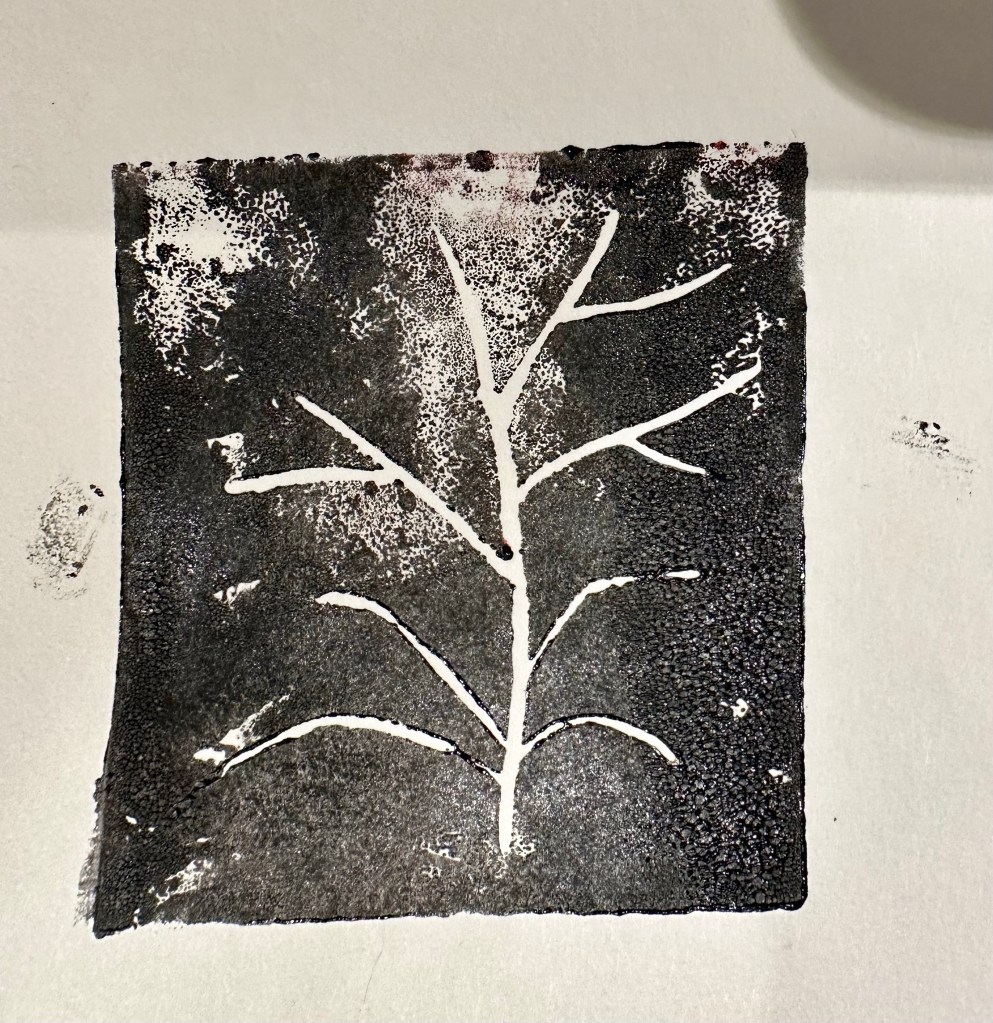
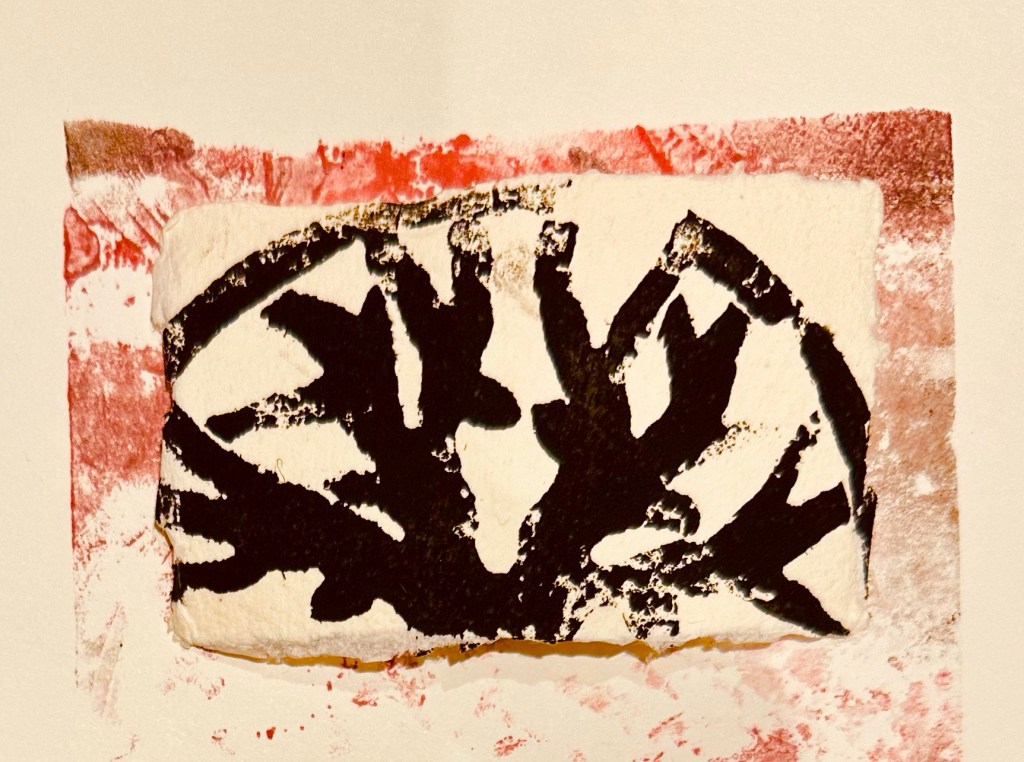
Woodblock, cabbage and Linocut. I tried to print an image using half a white cabbage but it didn’t work. I used acrylic paint and I could not get an definition or detail. I used a wood carving of a tree to create repeat images. I experimented with rolling the print ink directly on to the wood itself and applying different pressured when i pushed it in to the paper. This achieved a variety of different results. I learnt that using printing ink for block printing gives far superior results.


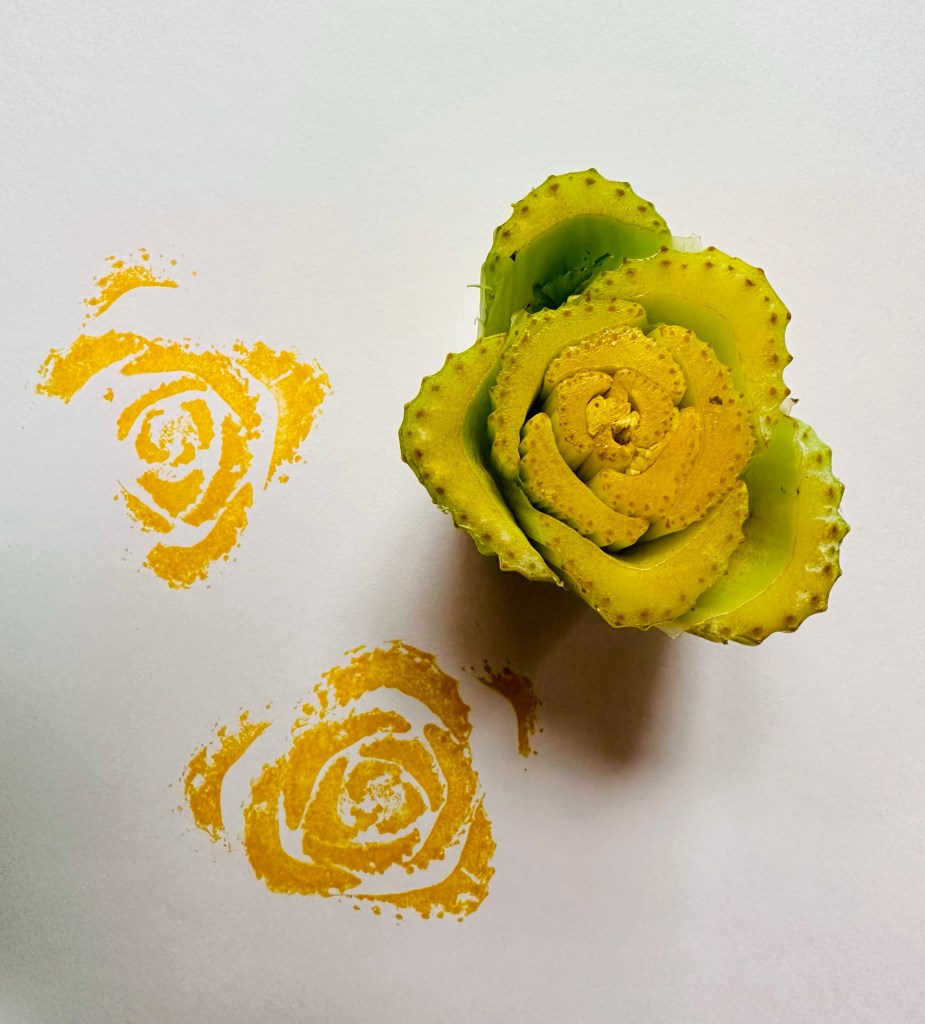
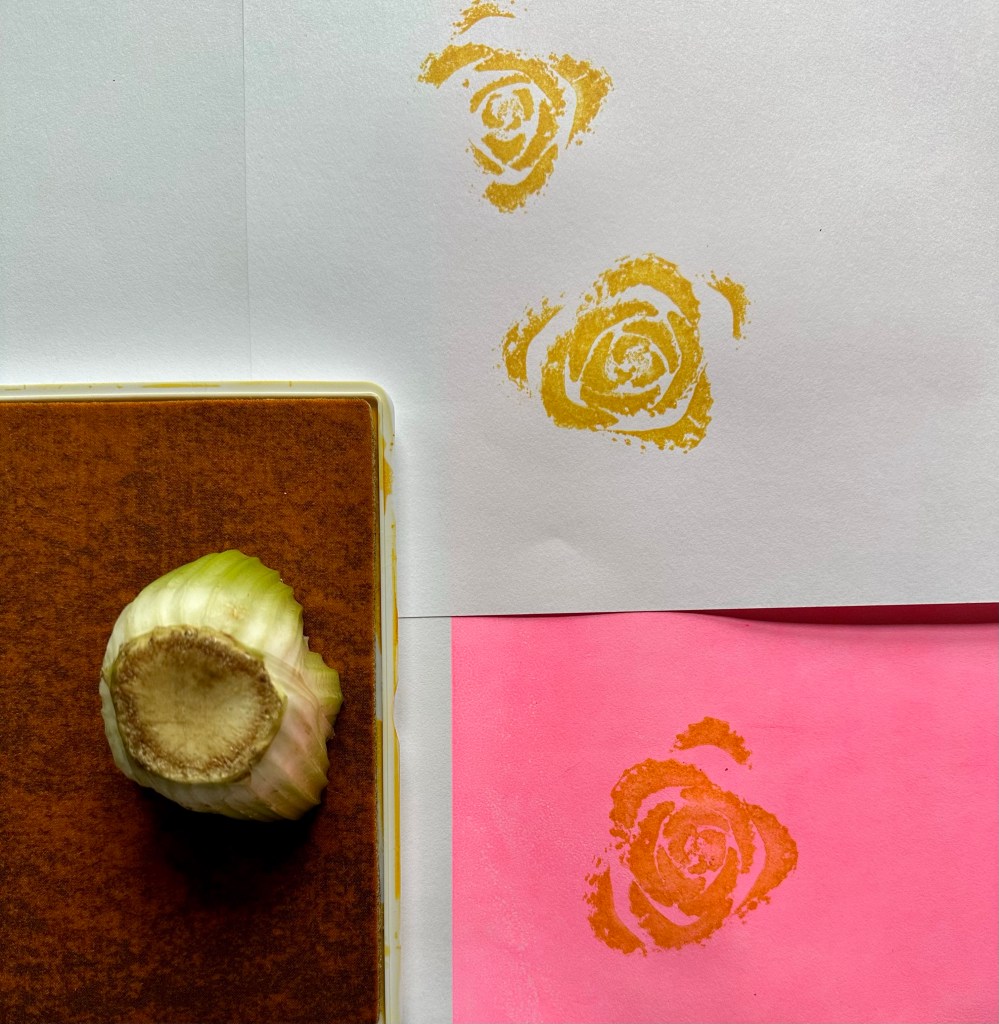
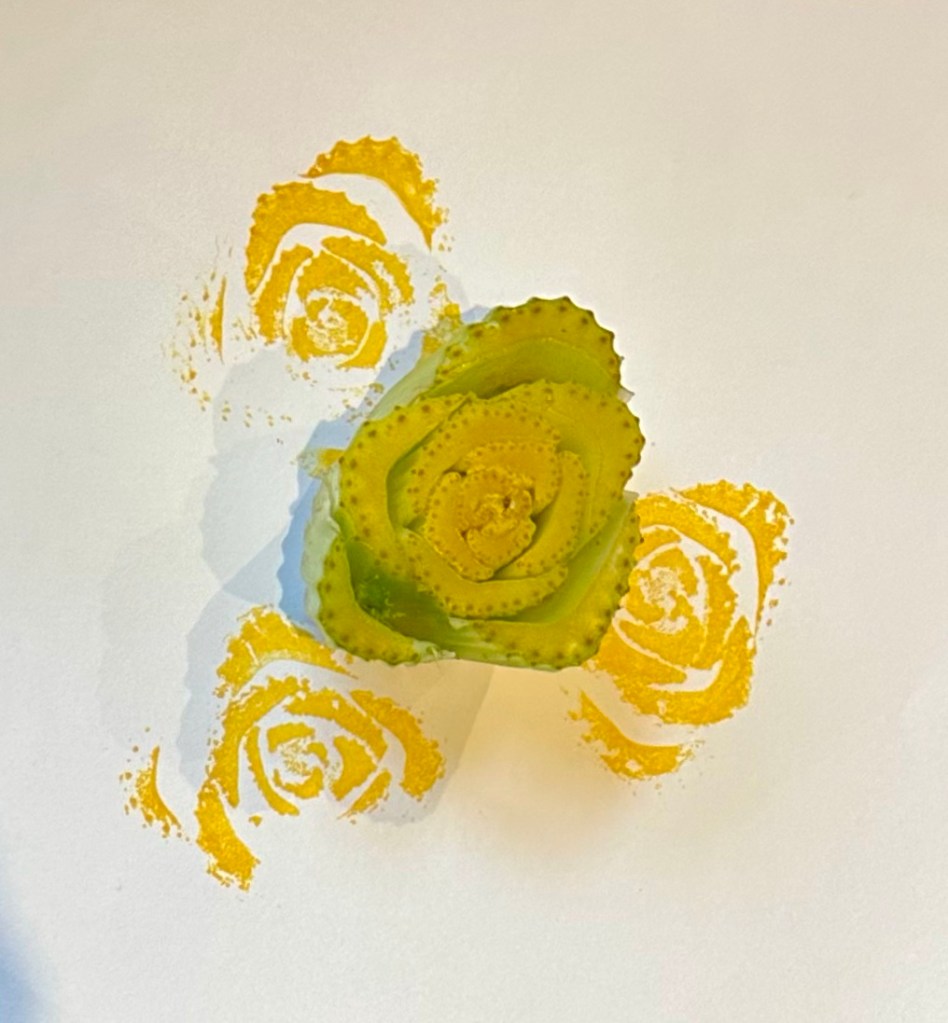
Home printing using vegetables
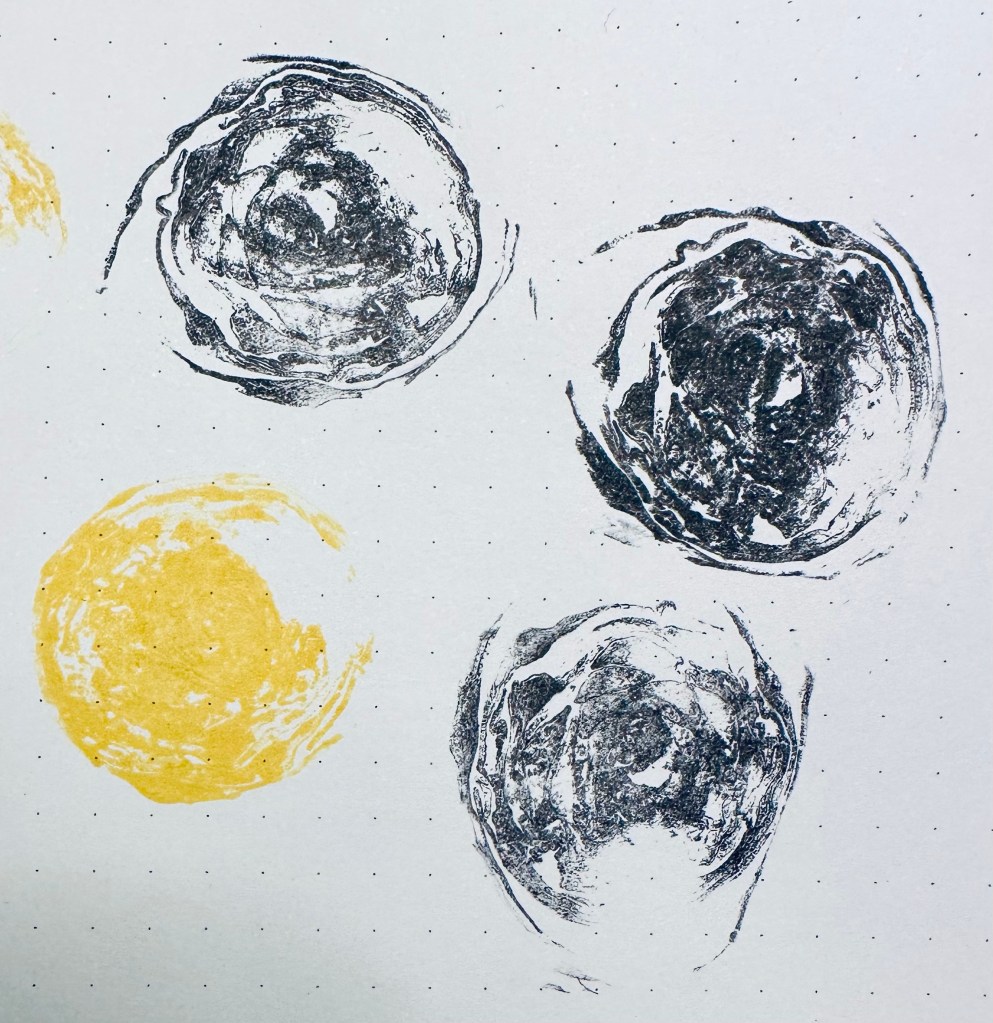
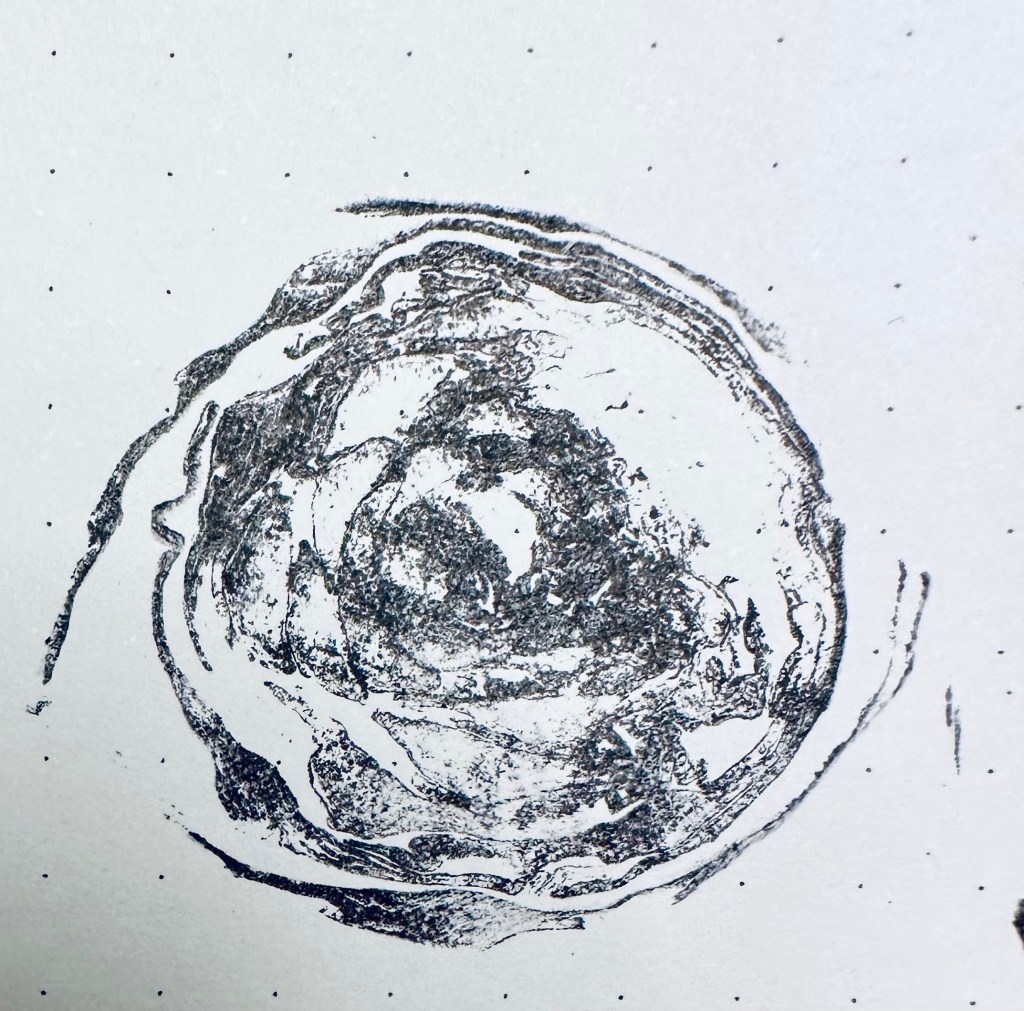
I cut the end off a bunch of celery and let if dry out a bit overnight. I the used an ink pad and initially experimented with making shapes on plan paper, I was so pleased with the results that I made an A3 size print using a plain neon pink silkscreen that I had made the day before at college. I was very happy with the repetition of the image which looks like a rose.

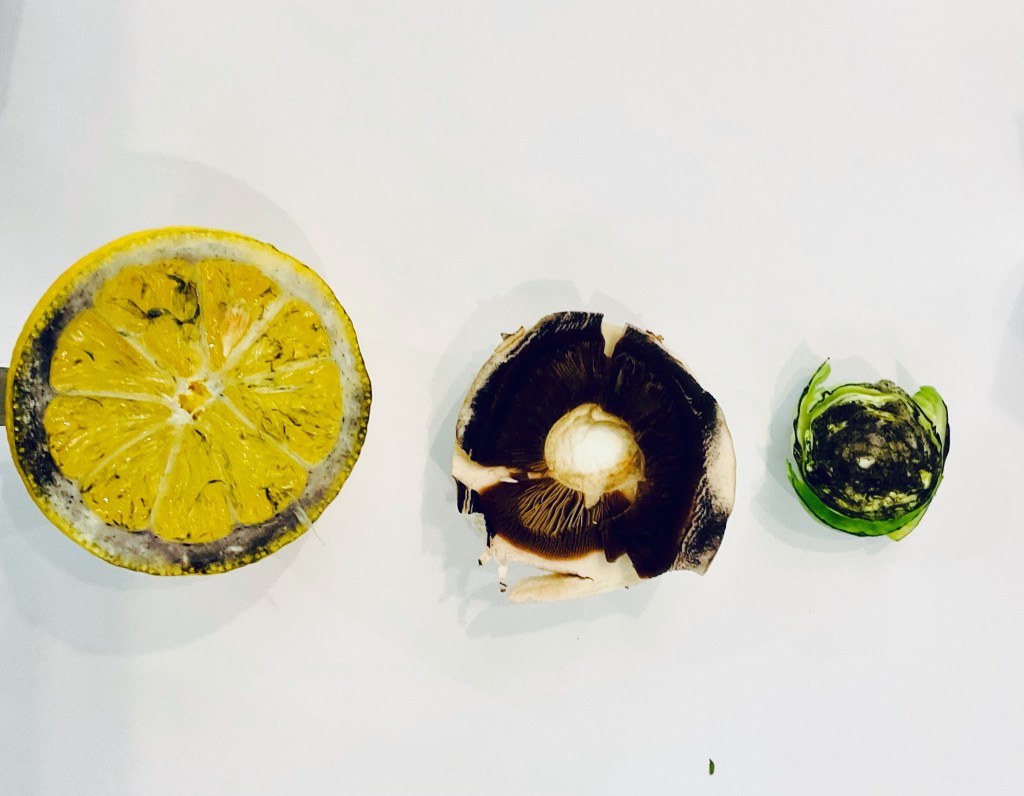
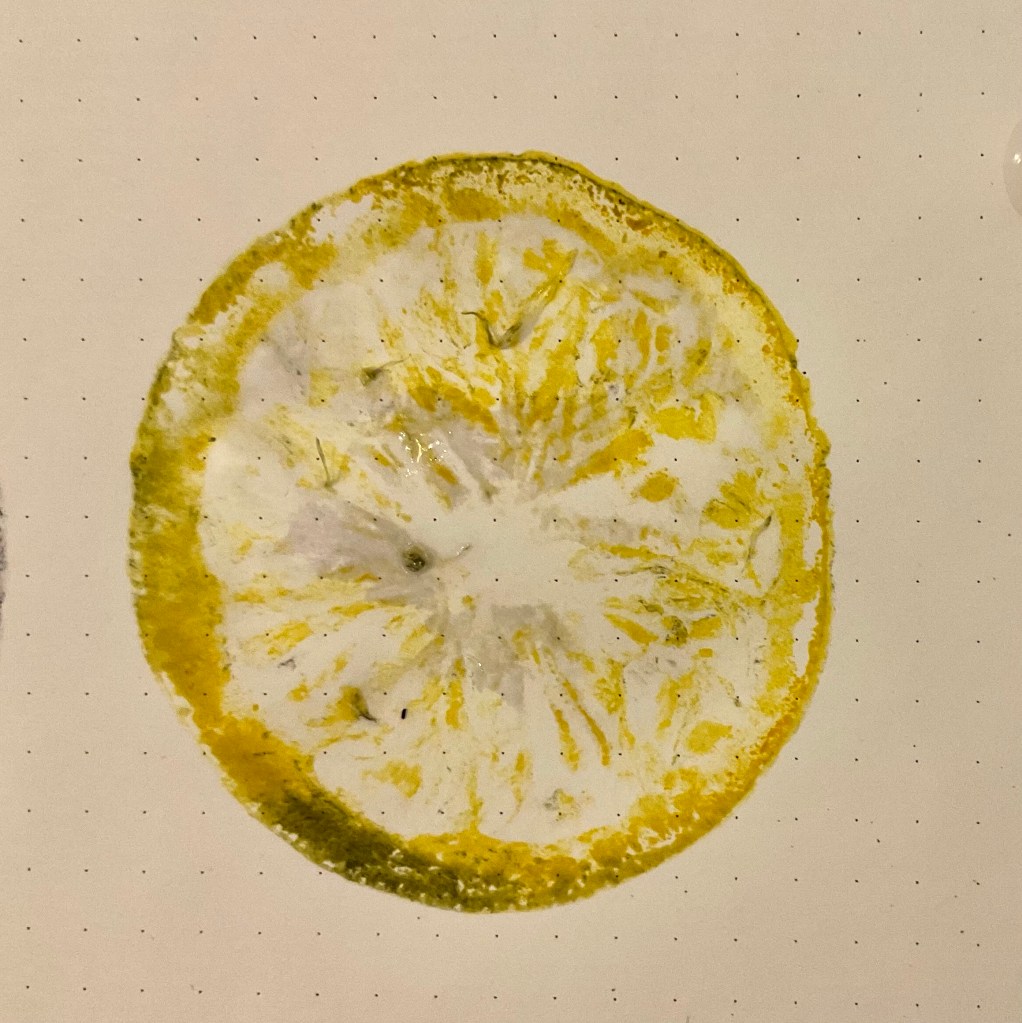
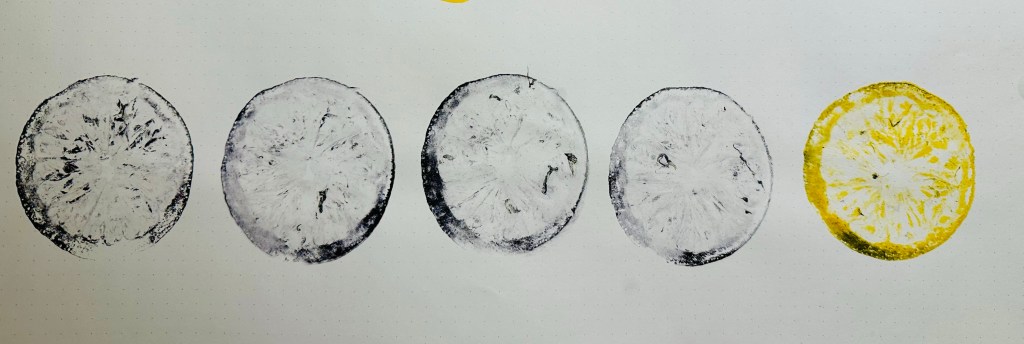
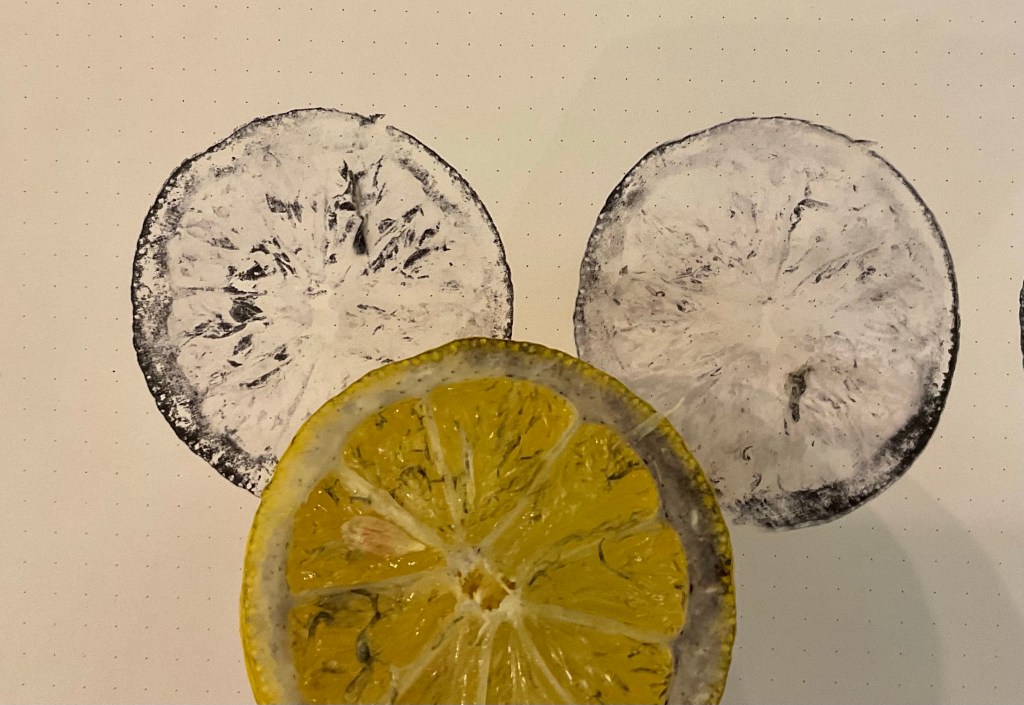
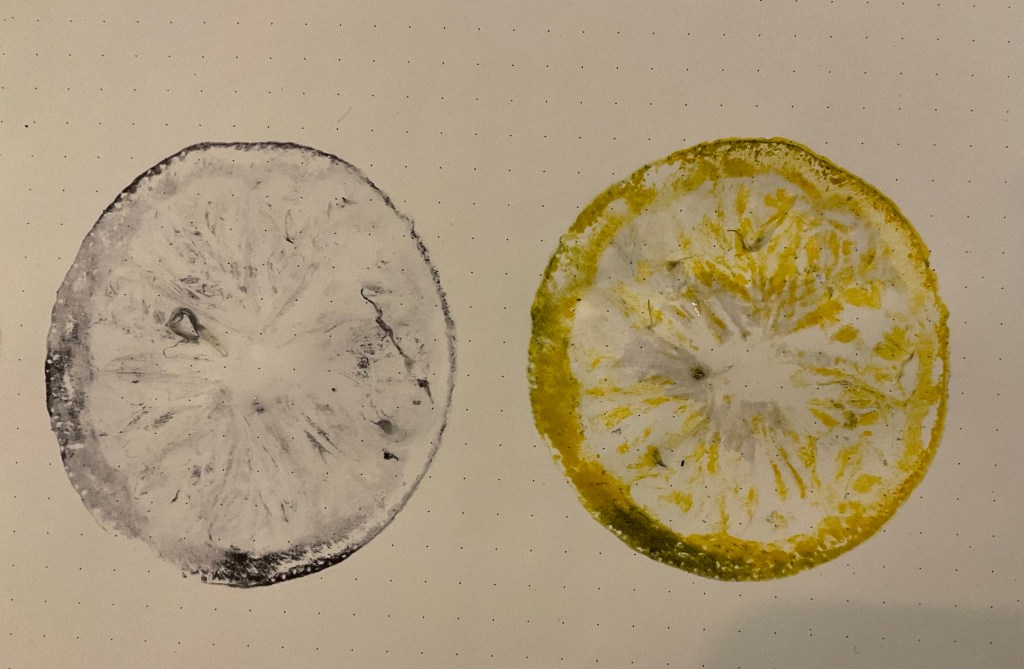
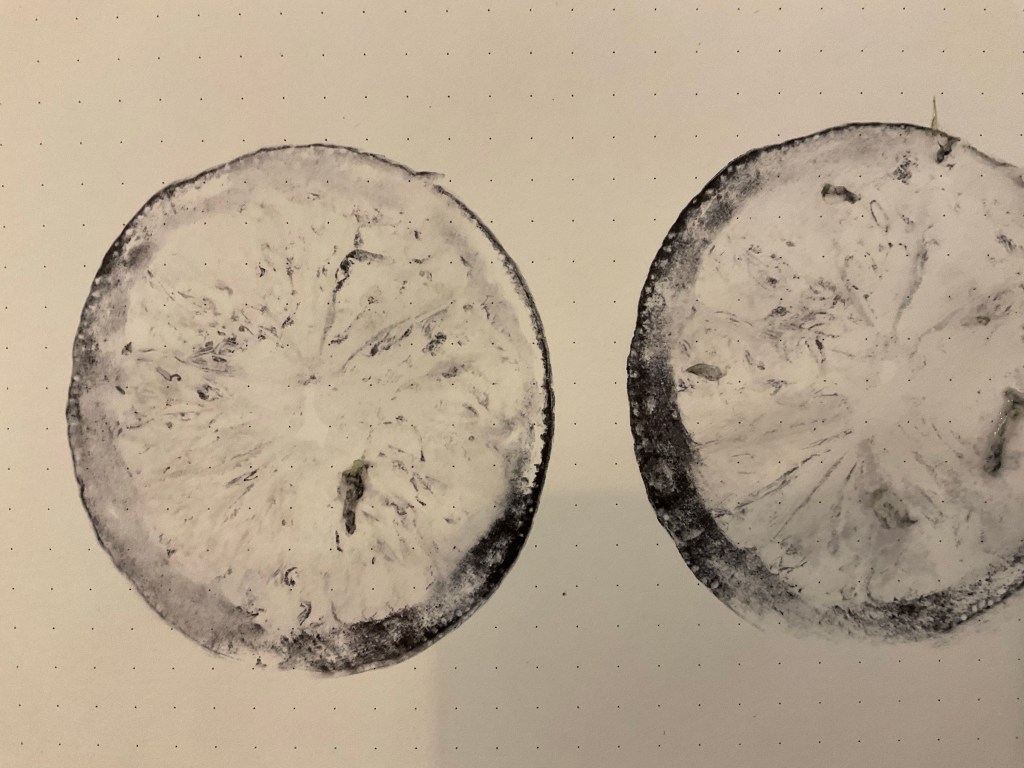
LEMONS. I cut a lemon in half and dabbed the juiciness away so it was just damp. I then ground it into a ink pad and the pushed it on to paper, leaving it for 15 seconds so it would sink into the paper. I was very pleased with my lemon print using yellow ink. I like how although it is obviously a lemon, it has a strange almost 3d quality to it around the rind bit. I also used a black ink pad as well to make repeat designs.
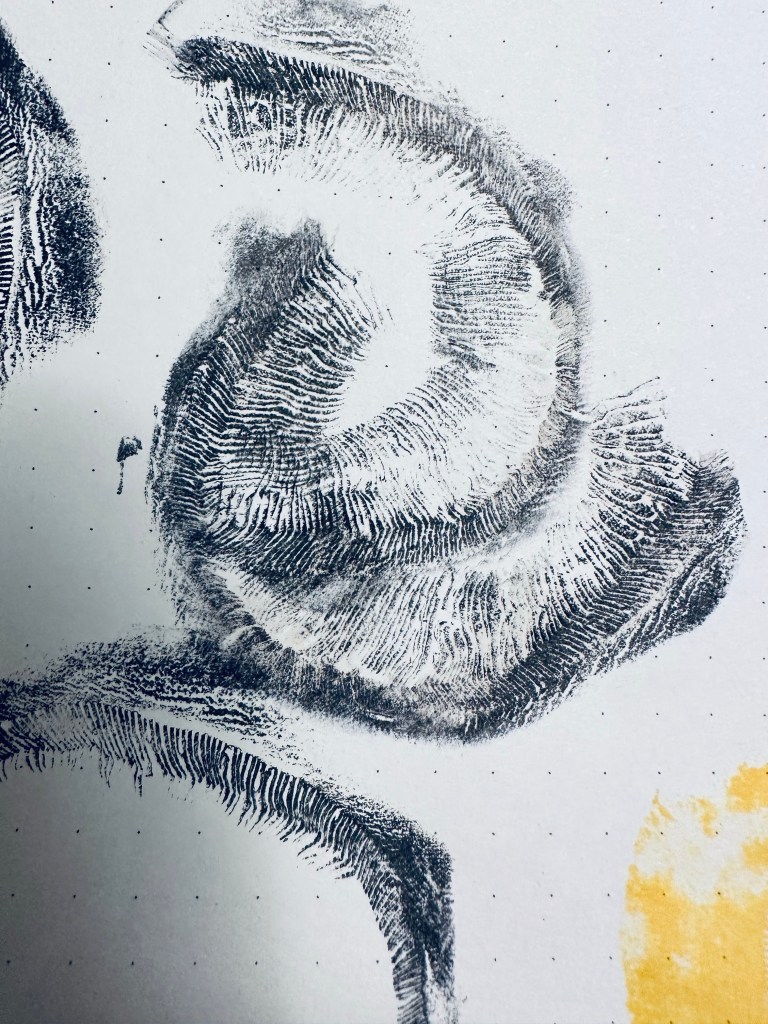
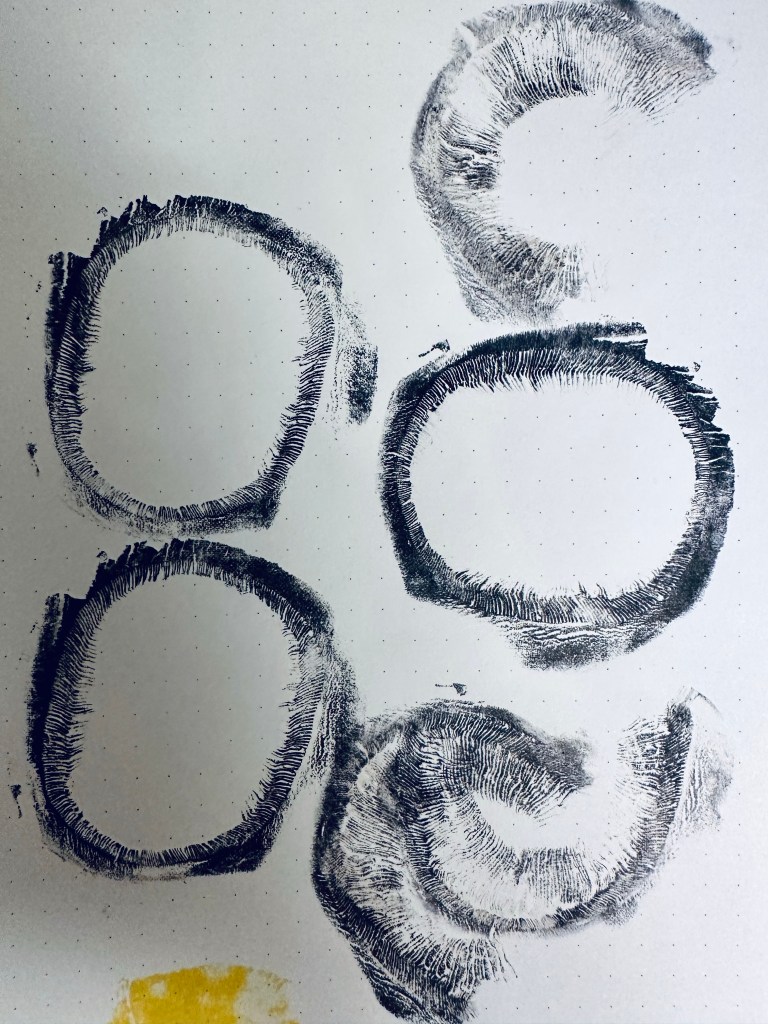
MUSHROOMS I was unsure if using a mushroom would work but although I couldn’t capture the whole mushroom shape as it was too soft, I was pleased with the detail in the prints of the delicate underside of the ‘cap’ which looks almost like eyelashes.

BRUSSEL SPROUT.